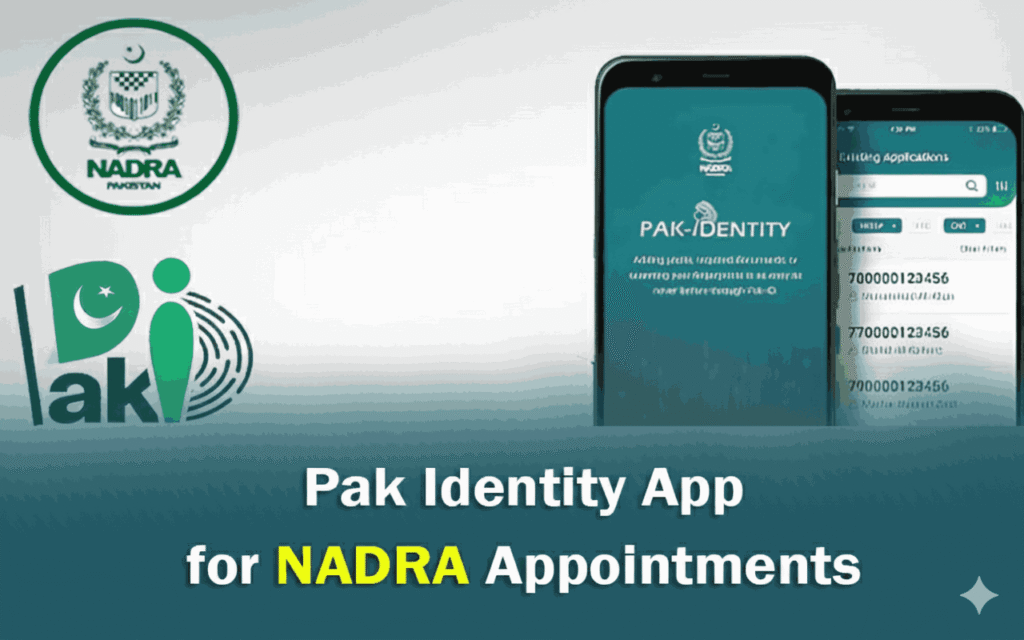
In the modern digital era, the Government of Pakistan has made significant progress in making public services more accessible. One of the most useful features released by NADRA (National Database and Registration Authority) is the Pak Identity App. Gone are the days when you had to stand in long queues just to get information or wait for hours at a NADRA center. Now, you can manage your identity documents and even book appointments directly from your smartphone.
This guide will walk you through the process of booking an appointment using the Pak Identity App in simple, easy-to-understand English.
Why Use the Pak Identity App?
Before we dive into the “how-to,” it is important to understand why this app is a game-changer. The Pak Identity App is designed to provide a “contactless” experience. Whether you are applying for a New CNIC, a renewal, or a Family Registration Certificate (FRC), this app allows you to:
- Upload documents.
- Capture fingerprints and facial recognition.
- Book appointments to save time at physical centers.
What You Need Before Starting
To ensure a smooth booking process, make sure you have the following ready:
- A Smartphone: With a working camera and internet connection.
- The App: Downloaded from the Google Play Store or Apple App Store.
- Account Credentials: A registered NADRA account (or your login details).
- Valid ID Information: Your current CNIC number or the tracking ID of your application.

Step-by-Step Guide to Booking Your Appointment
Step 1: Download and Install
First, search for “Pak Identity“ in your mobile app store. Ensure the developer is listed as “NADRA” to avoid fake apps. Install the app and open it.
Step 2: Register or Log In
If you are using the app for the first time, you will need to create an account.
- Tap on “Register.”
- Enter your personal details (Name, Email, Mobile Number).
- Verify your account via the OTP (One-Time Password) sent to your phone or email.
- If you already have an account, simply enter your email and password to Log In.
Step 3: Choose the Relevant Service
Once you are on the home dashboard, you will see various options like “Apply for CNIC,” “Fingerprint Capture,” or “Document Upload.” If your goal is to visit a physical office for a specific process (like biometric verification that isn’t working on the phone), look for the “Appointment” or “Visit Management” section.
Note: Sometimes, the appointment feature is integrated into the application flow. If you are starting a new application, the app may ask you at the end if you want to visit a center to finalize the process.
Step 4: Selecting the NADRA Center
The app will use your GPS location or ask you to select your city.
- Select your Province and City.
- A list of nearby NADRA centers (NRCs) will appear.
- Choose the center that is most convenient for you. Some centers offer “Executive” services (faster but slightly more expensive) while others are “Regular” centers.
Step 5: Picking a Date and Time
After choosing the center, a calendar will appear.
- Available dates are usually highlighted in green or white.
- Select your preferred date.
- Choose a time slot (e.g., 10:00 AM – 11:00 AM). It is always better to choose an early morning slot to avoid the midday rush.
Step 6: Confirming the Appointment
Review your details one last time. Make sure the center location and time are correct. Tap on “Confirm” or “Submit.” You will receive a confirmation message within the app, and usually, a confirmation SMS or email will be sent to you. This message contains your Appointment ID.
Important Tips for a Smooth Experience
To make sure your visit to the NADRA office goes perfectly, keep these tips in mind:
- Arrive Early: Even with an appointment, it is wise to arrive at least 15 minutes before your scheduled time. Show your digital appointment slip at the entrance to get priority.
- Keep Your Documents Ready: The app handles the booking, but you must bring the physical original documents (old CNIC, father’s CNIC copy, etc.) required for your specific case.
- Battery and Internet: Ensure your phone is charged so you can show the appointment confirmation to the staff at the gate.
- Update the App: Always use the latest version of the Pak Identity App to avoid bugs or crashes during the booking process.
Troubleshooting Common Issues
- No Available Slots: If your local center is fully booked, try checking a different center nearby or check the app late at night when the system refreshes for new dates.
- OTP Not Received: If you don’t get the verification code, wait a few minutes or try using a different mobile network number.
- App Crashing: Clear the app cache in your phone settings or reinstall the app if it continues to freeze.
The Pak Identity App is a powerful tool that puts the power of NADRA in your pocket. By following the steps above, you can skip the long, tiring queues and manage your time efficiently. The transition to digital appointments is not just about convenience; it’s about respect for your time.
Whether you are a student, a working professional, or a senior citizen, using the app to book an appointment ensures that your identity-related tasks are handled with ease and transparency.